 www.cnbc.com ```html
 Opening: Building Your Own Chicken Coop A DIY Guide Building your own chicken coop can be a rewarding experience. Not only does it save you money, but it also allows you to customize the coop to perfectly fit your needs and the specific requirements of your flock. This guide will walk you through the process step-by-step, ensuring a safe, comfortable, and functional home for your chickens.
Step 1: Planning and Design Before you start hammering, careful planning is crucial. Consider these factors:
- Size: How many chickens do you plan to keep? A general rule of thumb is 4 square feet of coop space per chicken and 8-10 square feet of run space per chicken.
- Location: Choose a level, well-drained area that offers partial shade. Consider proximity to your house and potential predators.
- Design: Sketch out your coop design, including dimensions, door placement, window locations, and roofing style. There are plenty of free plans available online if you need inspiration.
- Materials: Decide on your building materials. Common choices include wood, hardware cloth, and roofing shingles.
Step 2: Building the Foundation The foundation is the base of your coop and needs to be sturdy. Depending on your design and local climate, you can choose from several options:
- Slab Foundation: Concrete slab, requiring the most effort but providing the most protection against predators digging under the coop.
- Gravel Base: A simple and affordable option involving leveling the ground and adding a thick layer of gravel for drainage.
- Wooden Frame: Building a wooden frame to raise the coop off the ground. This helps with ventilation and predator protection.
Step 3: Framing the Coop Walls Build the frame for each wall separately, using 2x4 lumber. Ensure all corners are square and securely fastened. Consider the placement of windows and doors when framing the walls. Add cross bracing for extra stability. Once the wall frames are complete, attach them to the foundation frame, ensuring they are plumb and level.
Step 4: Building the Roof There are various roof styles to choose from, including gable, shed, and A-frame roofs. A simple shed roof is a good option for beginners. Build the roof frame using 2x4 lumber, ensuring it's angled appropriately for water runoff. Cover the frame with plywood sheathing and then apply roofing felt and shingles for weather protection.
Step 5: Adding the Chicken Run The chicken run provides your chickens with outdoor space to roam and forage. Enclose the run area with hardware cloth, burying it at least 12 inches deep to prevent predators from digging underneath. Attach the hardware cloth securely to the coop and to sturdy posts. Install a door for easy access to the run.
Step 6: Interior Features Now it's time to add the essential interior features for your chickens:
- Roosting Bars: Provide roosting bars made of smooth wood, allowing about 8-12 inches of roosting space per chicken. Place them higher than the nesting boxes.
- Nesting Boxes: Offer one nesting box for every 3-4 chickens. Line the boxes with soft bedding, such as straw or wood shavings.
- Food and Water: Install feeders and waterers that are easy to clean and refill. Consider using elevated feeders and waterers to prevent contamination.
Step 7: Finishing Touches Add any final touches to improve the functionality and aesthetics of your coop:
- Ventilation: Ensure adequate ventilation by adding vents near the top of the coop. Cover the vents with hardware cloth to keep out predators.
- Door and Window Latches: Install secure latches on all doors and windows to prevent predators from entering.
- Paint or Stain: Apply a coat of paint or stain to protect the wood from the elements and enhance the appearance of the coop. Use chicken-safe paints or stains.
Conclusion: Enjoy Your New Chicken Coop! Congratulations! You've successfully built your own chicken coop. Take pride in your accomplishment and enjoy watching your chickens thrive in their new home. Regularly maintain the coop to ensure its longevity and the health and happiness of your flock. Remember to check regularly for any needed repairs, and adjust the coop as needed to meet the changing needs of your chickens.
``` Best Buy (bby) Earnings Q1 2024
 www.cnbc.com
 107292713-16932323232021-11-22t231023z_321306043_rc2xzq9p6wat_rtrmadp_0_best-buy-results.jpeg?v
 www.cnbc.com
 108007752-1721240013576-gettyimages-2154484612-best_buy_earns.jpeg?v=1727811373&w=1920&h=1080
www.cnbc.com  www.purplebricks.co.uk
  www.diygrannyflat.com.au
  www.livspace.com
  thelifesynthesis.com
  www.bharatagritech.com
  healthysenseofself.com
  storageshedfloor.blogspot.com
  www.pinterest.dk
  oldjackstorage.com
  www.mineralienatlas.de ```html
  www.freeimages.com
  geology.com
  www.kostorage.com ```html
  www.holdstorage.co.uk
  www.storageunitsdublin.com
  www.creativefabrica.com
  wallpapers.com
  br.freepik.com
  www.fullyloaded.com.au
  www.insideselfstorage.com
  www.danishchurchsocal.com
  solarrequired.com ```html
  solarsignlightingkits.blogspot.com
  www.allaboutsheds.com.au
  kitchenaiding.com ```html
  www.licious.in
  www.allrecipes.com
  www.instaloverz.com ```html
  mavericksteelbuildings.com
  www.albuquerqueselfstorage.com
  www.propira.com
  www.keralahousedesigns.com
  www.archid.co.za
  www.pinterest.com ```html
 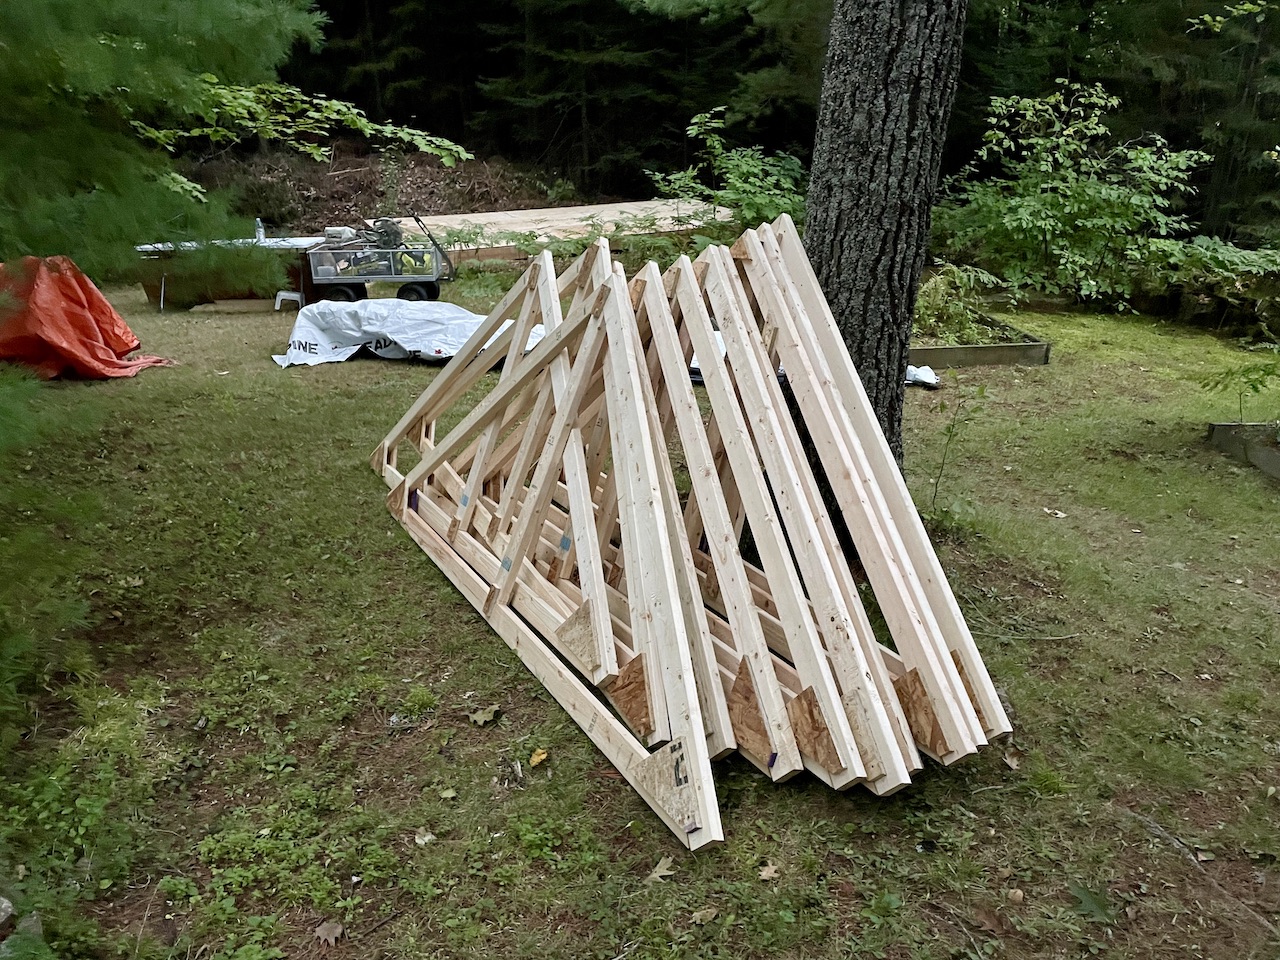 insideactor.coesca.com
  insideactor.coesca.com